It isn't even butterfly season
In the latest box from Kansas I found some material which mysteriously found its way in there, including right at the bottom of the pile in this photo some awesome little butterfly material. As soon as I pulled it out it talked to me.
Make me into little hexagon flowers. Something I've never attempted before so it certainly has been an experience. With help from friends and also the internet, I found out how to make them. Not all the tutorials are as thorough as I'd like so found out a few things by trial and error.
First of all I bought the cardboard little templates to make them... but there is a cheaper way if you're careful with your cutting.
Bought ones, but I'm running out so I decided to make my own. Encouraged by Aud's latest awesome work, I decided to make my own cardboard templates.
A friend very kindly speedily got this together for me in photoshop, but it can be done in word if you're patient - I won't tell you just how long I tried to do it in word before I gave up - mainly because I was trying to match the size to the bought ones. If you're starting from scratch it doesn't matter. It is hard to cut out though as there aren't any straight lines through all the hexagons, but you get more to a page and more hexagons for your money.
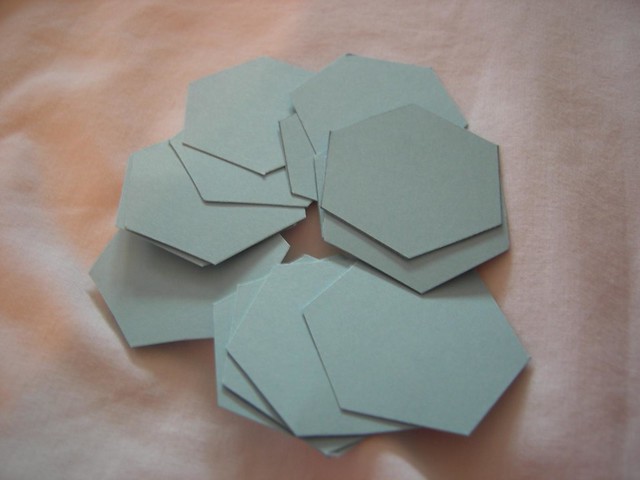
Quite a while later, a small pile of hexagons, ready to go.
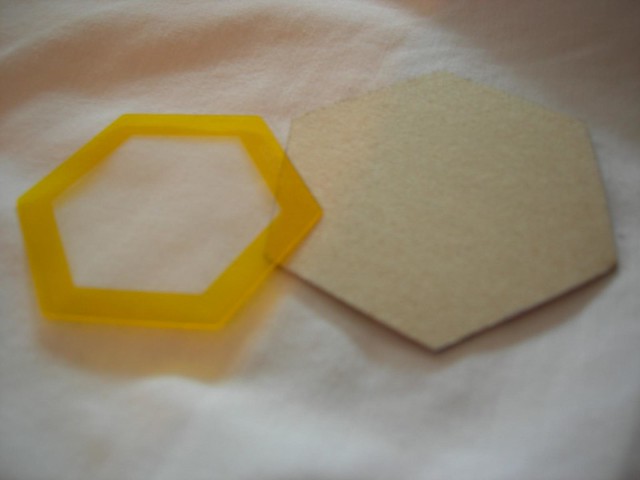
I used a larger template for the material, the yellow plastic one came with the bought white cardboard inserts, but I found the material fiddly for my fingers so I made as lightly larger one out of cardboard.
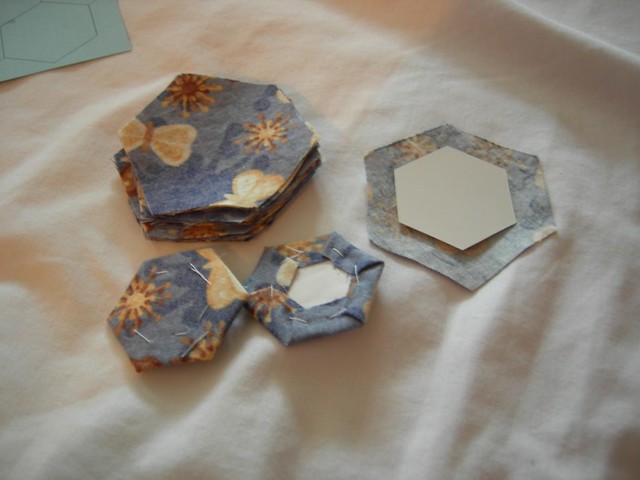
I traced around the cardboard onto the material using a ball point pen, some people prefer to use a marker that washes out. I then cut out a small pile of blue and a few of the contrast colour before starting to put the hexagons together.
As you can see I placed the cardboard insert onto the wrong side of the material then folded over the raw edges and with a contrasting thread sewed through material and cardboard around the petal. Some people prefer to sew it a different way not piercing the cardboard with the needle, but I found it took 3 times as long and looked awful when finished. But that is most probably just me.
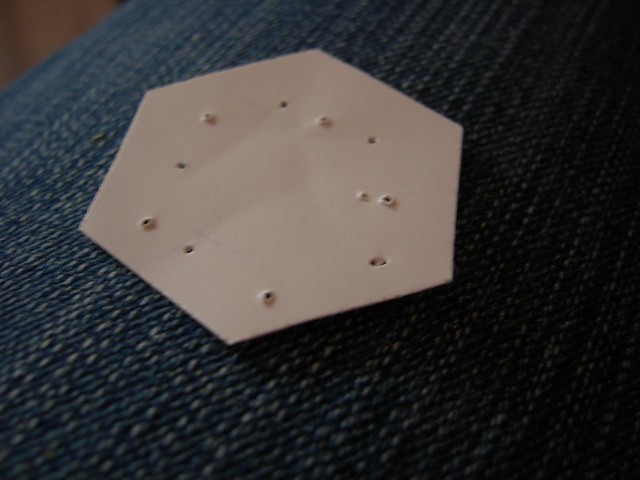
There aren't that many holes and I've reused some cardboard inserts up to 3 times and they're still holding together fine.
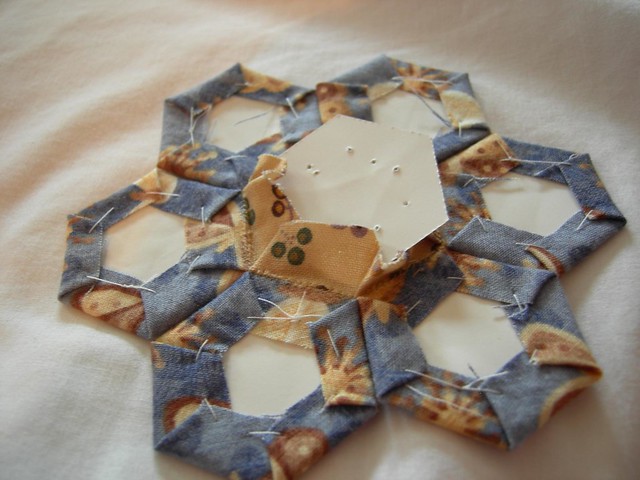
The flower needs 6 blue hexagons and 1 contrasting hexagon for the middle.
Starting with the contrasting hexagon, I sewed one petal with a whip stitch, trying to match the material with the thread as a little shows through but then I quite like that look.
Once one is sewn on, I then attached the second one and slowly worked my way around the middle hexagon. Leaving the sides for later.
Last one done.
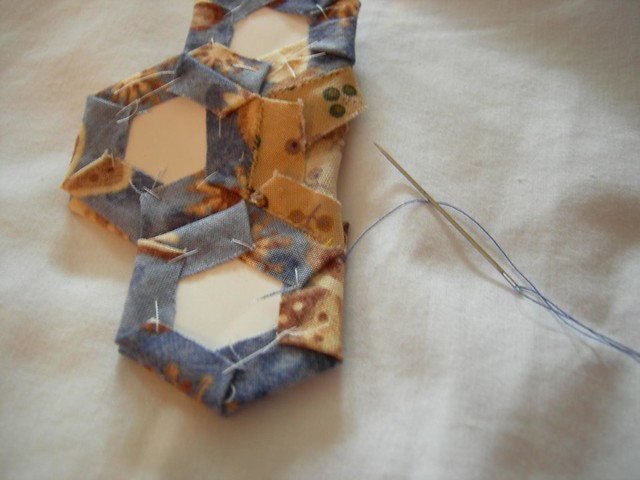
Here's a closer view of the stitches.
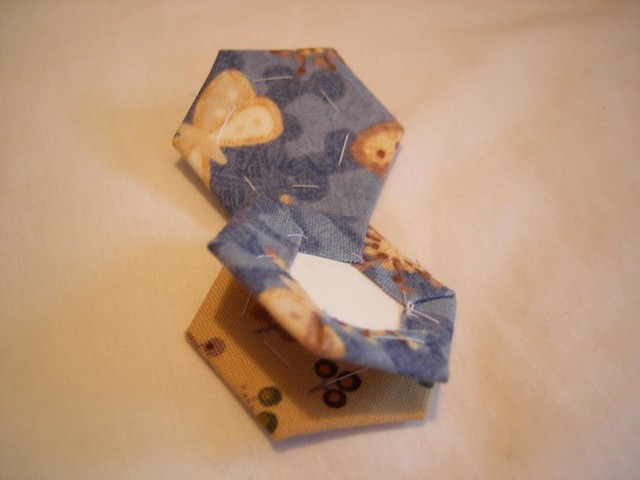
Now comes the fun bit, not that previous bits aren't fun of course. I removed the tacking on the middle hexagon and then took out the cardboard insert. This is important as the flower is folded in half to sew the petals together and it would ruin the cardboard if it was folded. Also, the cardboard isn't needed anymore as all the sides are sewn to other hexagons.
I changed the thread from tan to blue here, as the tan would show up too much with the blue petals. After folding the flower in half I sewed each petal, then knotted it off and secured the thread. It is important that the petal edges match when sewn or the flower will end up wonky.
And many weeks later I ended up with a little pile of flowers which then can be made into a quilt. Still working on the design of this quilt. It needs to talk to me a little more.
I hope anyone who is thinking of making a quilt this way will feel encouraged. It certainly is fun to do and something that can be done while talking or watching television. Also easy to keep in a handbag for when you're waiting at the doctors etc.


Comments
I bet the finished top is lovely, though - pictures soon?
Excellent works =D